Free Automation Using Google Apps Script: Adding SpreadSimple Orders into a Google Sheet
In this tutorial, we will learn how to use a free Google Apps Script (GAS) platform for automation. We will configure App Script to add a row with SpreadSimple order info to a separate Google Sheet.
How it works
When a user makes an order, the order details will be posted to a configured webhook URL. In our case, that destination will be an App Script published as Web App. The App Script function will format the order information and add it as a row to the associated Google Sheet document. All of this will happen in the background and will not affect the user experience.
What you will need
- A Google Account (of course)
- A SpreadSimple website with the shopping cart activated. I will use this one
- Some knowledge of JavaScript or at least no fear of the code
Step 1. Create a Google Sheet for orders collection
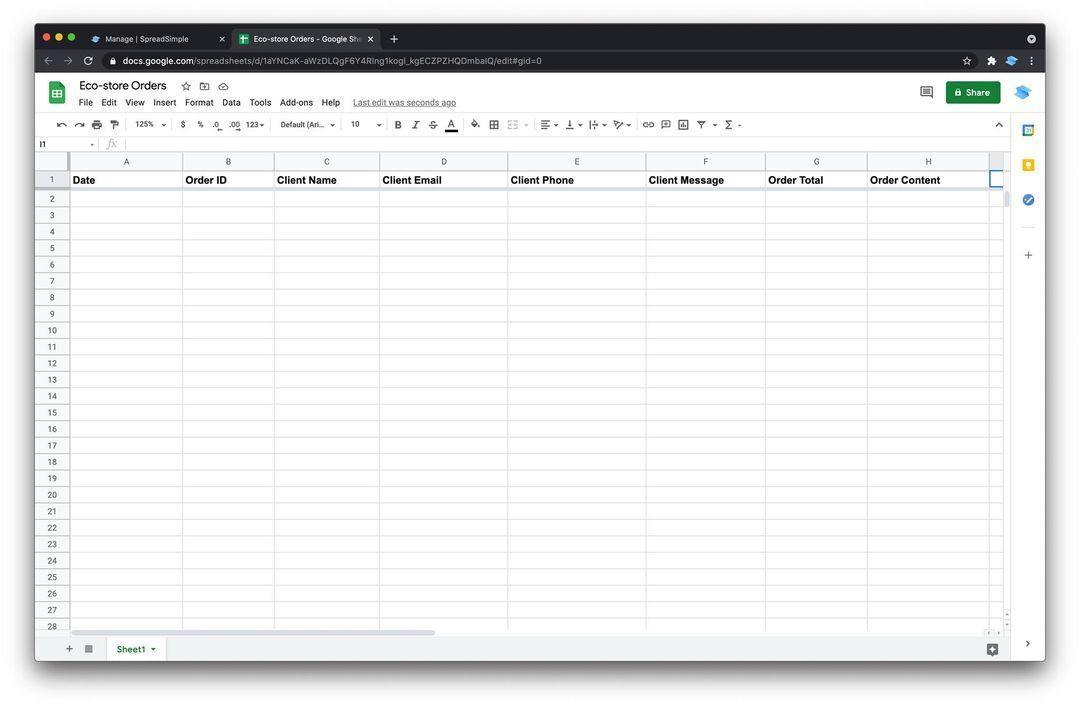
The Google Sheet where the orders will be collected will be bonded to the App Script. This is not necessarily the same sheet where information about the goods is stored, and moreover, I encourage you to create a separate Sheet. Let’s create one and add the columns that should be self-explanatory:
- Date
- Order ID
- Client Name
- Client Email
- Client Phone
- Client Message
- Order Total
- Order Content
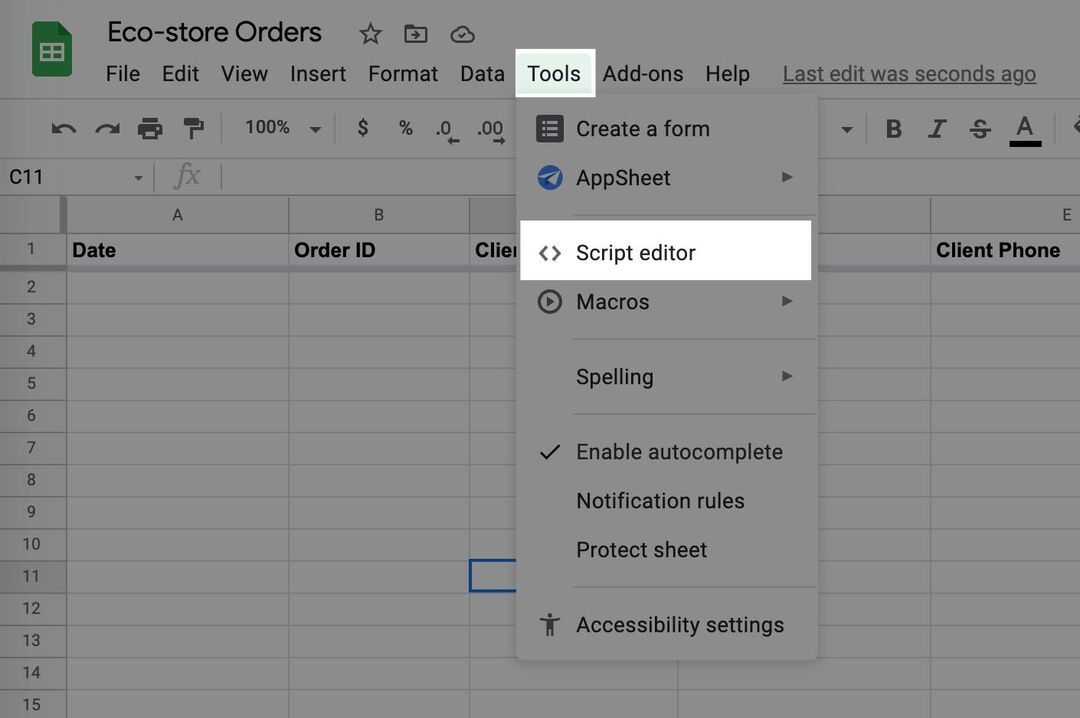
Step 2. Create the Script
Under the Tools menu open the Script editor
You will be redirected to the editor of a newly created script:
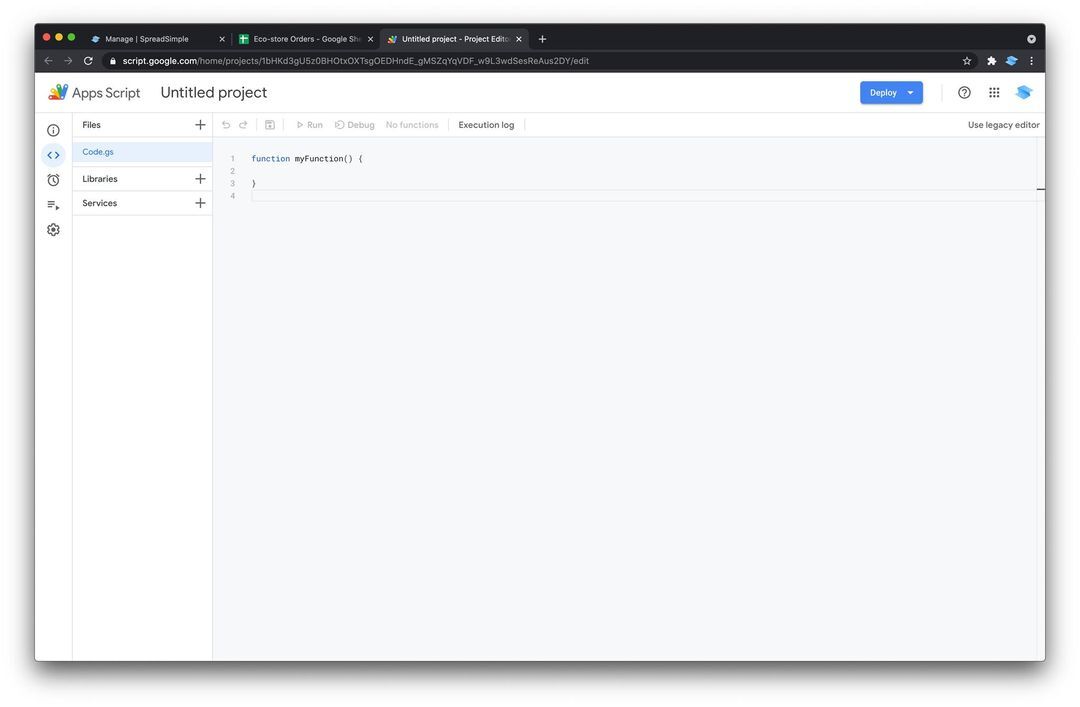
You can click on the title to give it the name.
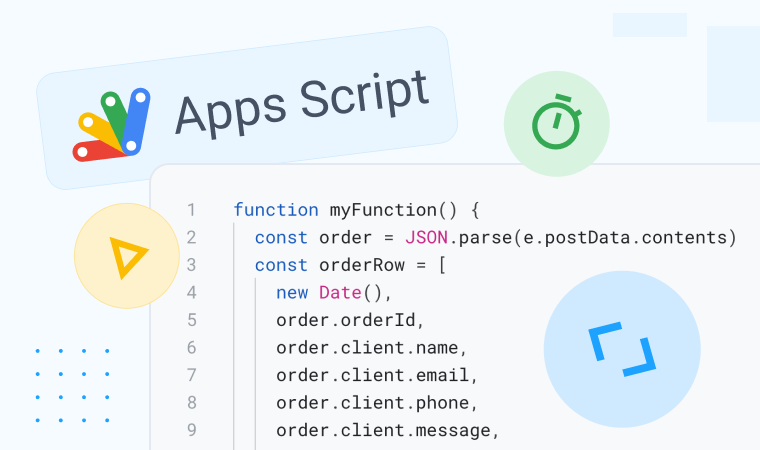
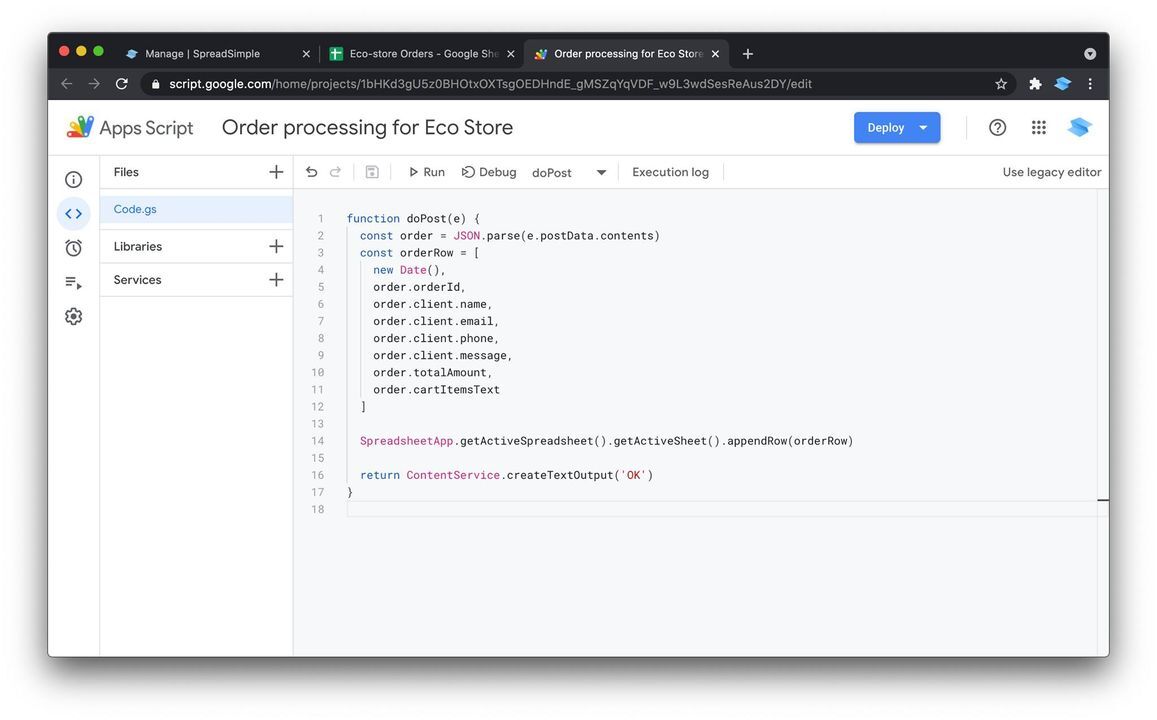
Now instead of the default myFunction () {...} paste this code:
function doPost(e) {
  const order = JSON.parse(e.postData.contents)
  const orderRow = [
    new Date(),
    order.orderId,
    order.client.name,
    order.client.email,
    order.client.phone,
    order.client.message,
    order.totalAmount,
    order.cartItemsText
  ]
  SpreadsheetApp.getActiveSpreadsheet().getActiveSheet().appendRow(orderRow)
  return ContentService.createTextOutput('OK')
}
And don’t forget to hit the Save button.
This function is essentially handling the POST request (which will be triggered by our webhook a bit later), and does the following:
- Store the received order data object in the ‘order’ variable. The value of this object matches the format described in our documentation.
- Create an orderRow array. Note that the position of each element in this array corresponds to the positions of the columns in our Google Sheet.
new Date() will return the current date and time. - The next line will insert this row into the Google Sheet.
Step 3. Deploy the script as a Web App
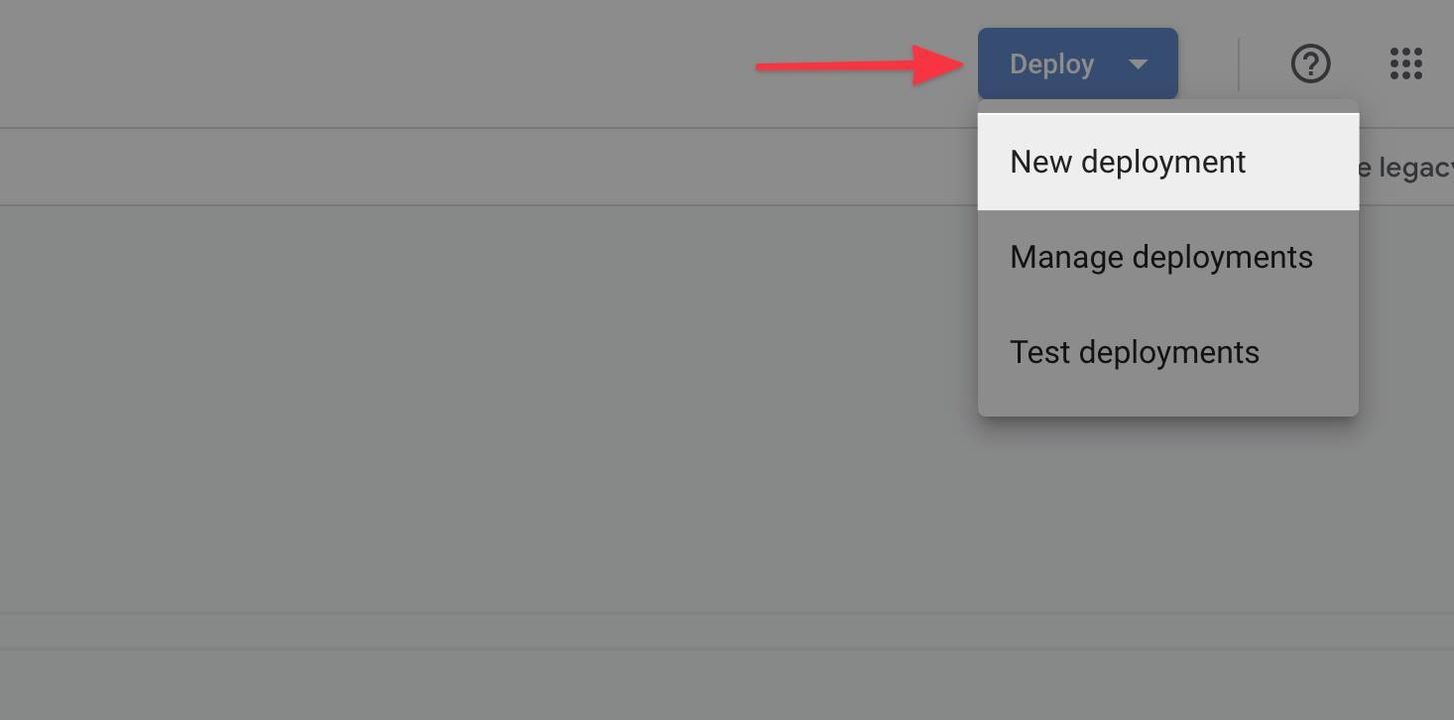
Hit the Deploy button and select New deployment:
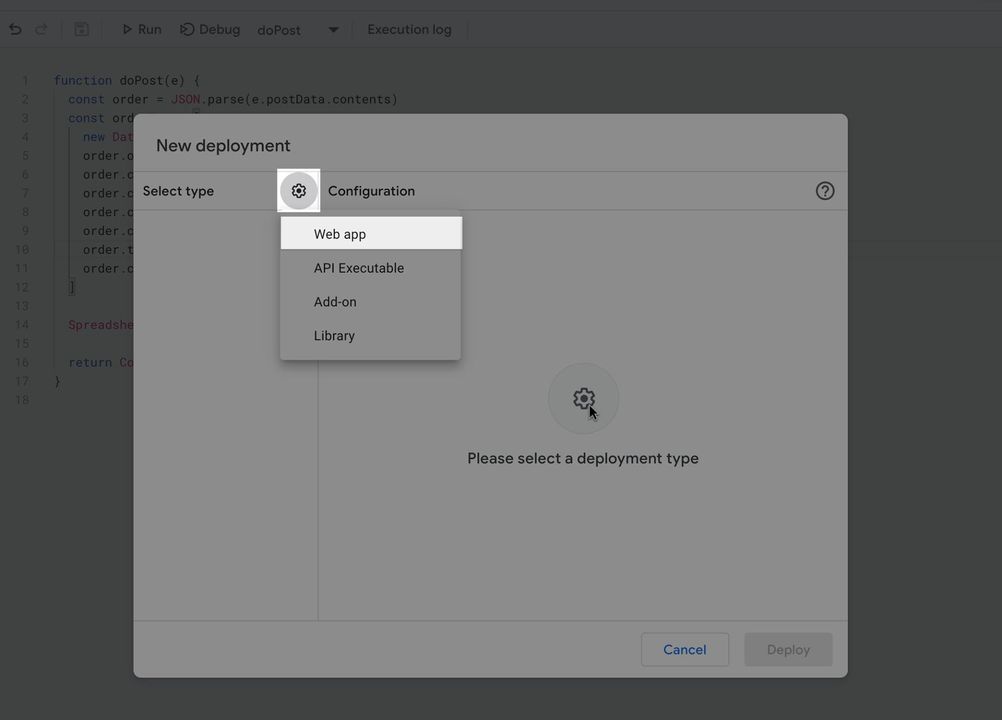
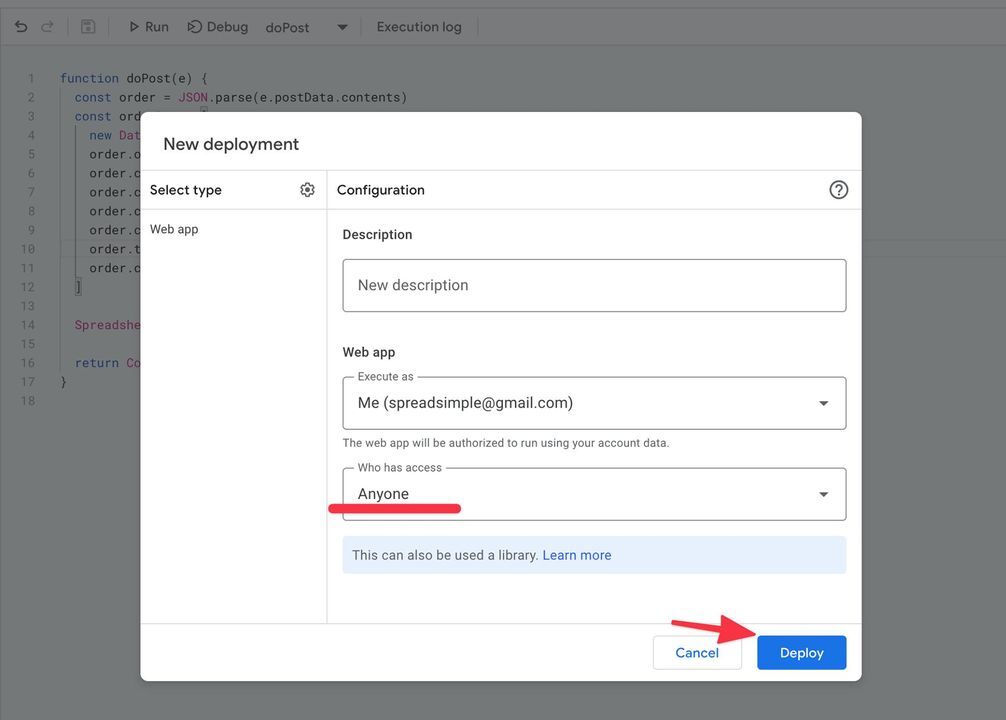
Then select the Web app as the type of deployment:
Change the ‘Who has access’ dropdown value to ‘Anyone’ and hit ‘Deploy’
Then click the Authorize access button -> Click on your Account name -> Click on ‘Advanced’ link and finally click the ‘Go to… ’ link
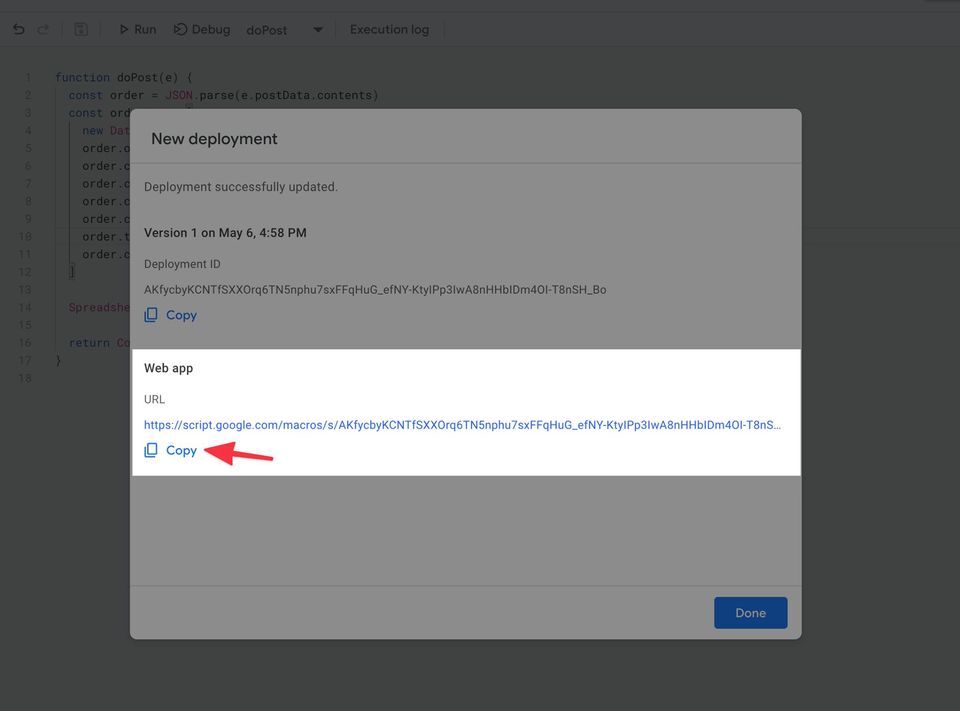
Don’t worry about ‘(unsafe)’ part, it’s you granting access to your spreadsheet. You can read about Authorization for Google Services if you’d like to learn more.And finally copy the Web app URL
Step 4. Configure the Webhook on SpreadSimple website
Go back to your SpreadSimple Dashboard and open the Checkout Tab, then under the Webhooks section paste your Web App URL:
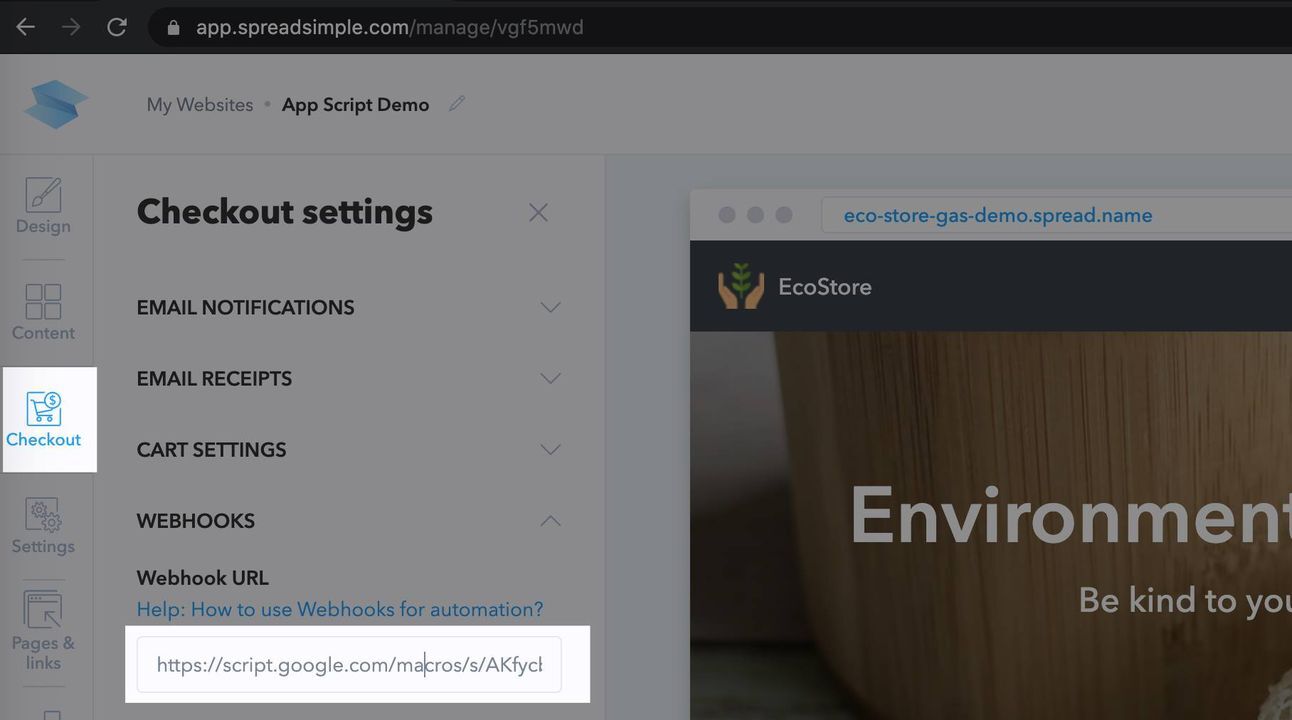
Hit Save, then hit Publish.
Demo
Now we can see it in action: each order will be stored as a separate row in your orders spreadsheet:
A pinch of inspiration
Despite the fact this automation option may seem difficult to some, it brings many advantages:
- It’s free
- The low-code perfectly compliments the no-code approach
- The possibilities of JavaScript are almost endless
- It’s a part of Google Apps ecosystem
And finally some inspiration on what else can be achieved:
- Send emails to your customers with any dynamic content via MailApp. E.g. you can use it for digital downloads: generate random license keys or send a secret link for each item in the cart
- Call any third party APIs using UrlFetchApp
- Create a Calendar Event + Google Meets link attached
- Code custom calculations
- And also work programmatically with Google Drive, Google Forms, Google Slides etc.
Sounds too complicated? Post your questions in our community and our experts and other active members will do their best to help you out.
Cheers!
P.S. https://gist.github.com/spreadsimple/0f2a73a2f8e93c46ab39b69bb49d612f
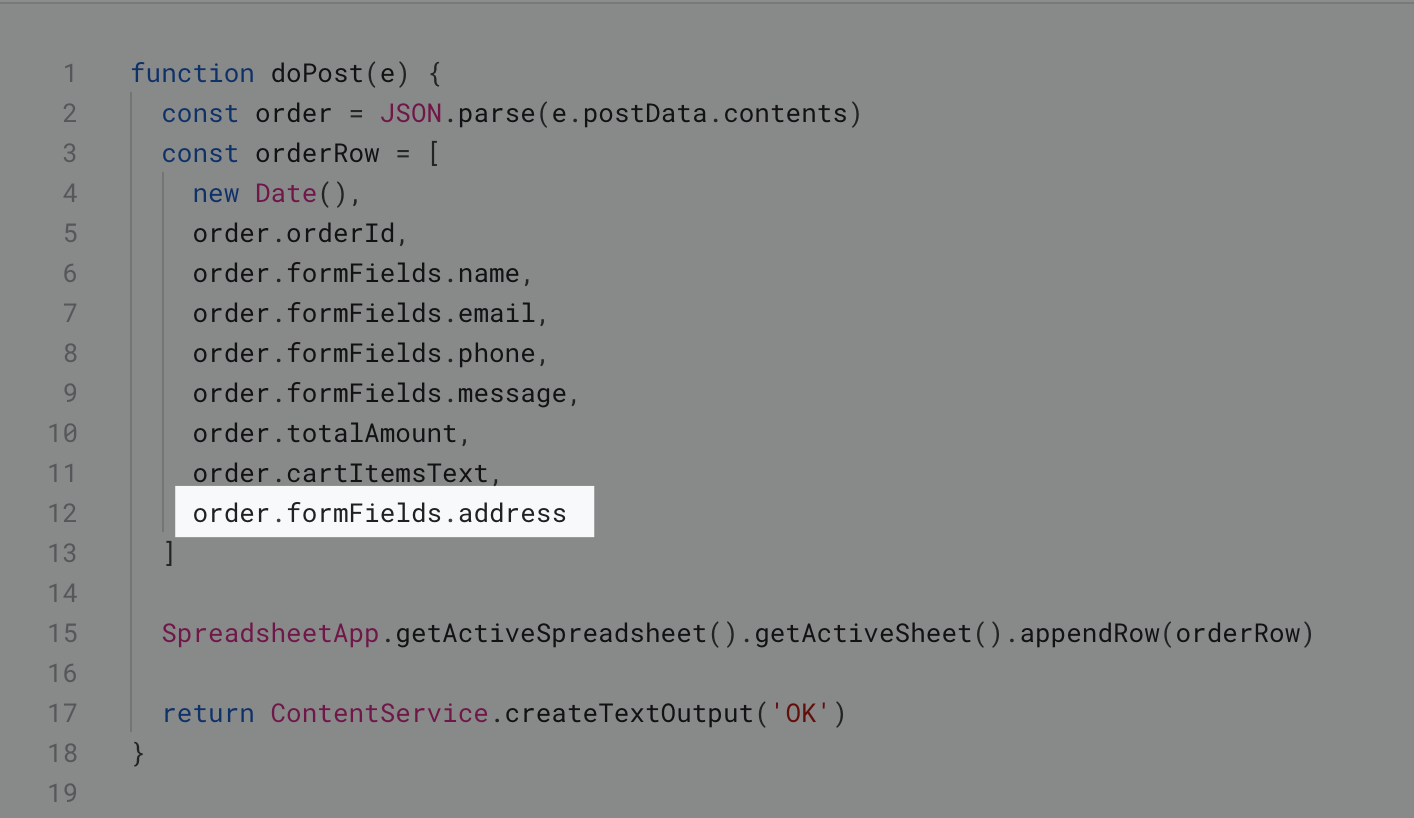
Update:
For additional or custom fields you should use formFields instead of order property in the webhook's payload object. That means you can access the address field value by order.formFields.address.