
A good-looking online catalog is only the icing on the cake of a functional website. Even the most user-friendly navigation and trendiest design elements can fall short without a well-optimized ordering system that processes orders at lightning speed. Without it, orders might get lost in DMs and phone calls, leading to customer frustration and eroding trust before they even get to experience your product. In this post, we show how easy it is to build a professional online ordering system for a small business. Just follow our beginner-friendly setup tips!
How to take orders online (with SpreadSimple)
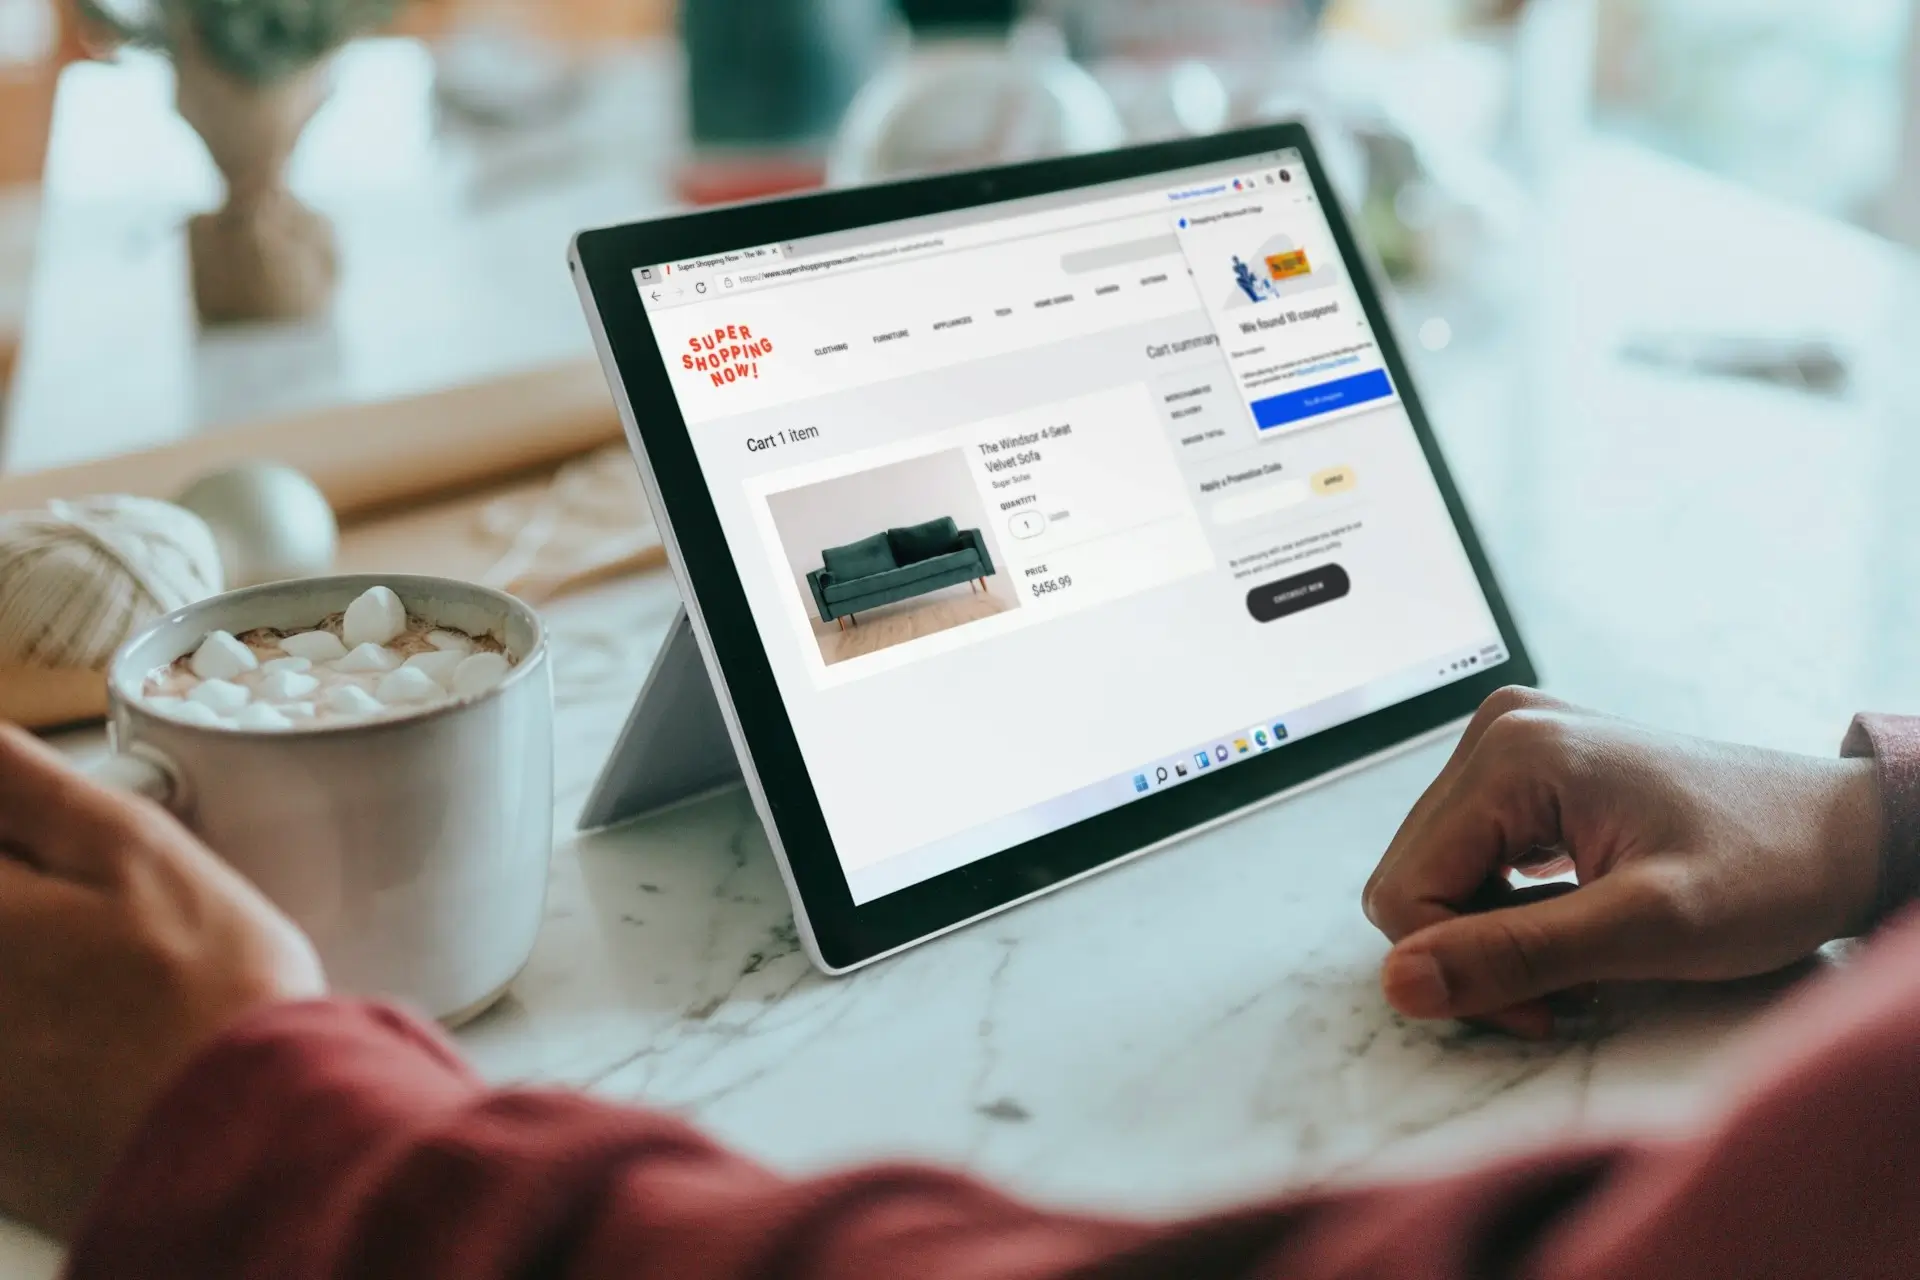
To accept orders online, you’ll need these three key elements: an order form, a payment system, and notifications. Here’s a quick breakdown of the whole purchase mechanism: after adding all the desired products to the cart and filling the order, the customer pays on your website and receives an email receipt. All of these features are available in SpreadSimple (Note: some features are not included in the Free plan. Check out the pricing here (opens new window).)
| Feature | Problem it solves | Where to find it |
|---|---|---|
| Online order form fields | Collect the details you need | Checkout tab → Form Fields |
| WhatsApp add-on | Learn about a new order within seconds | Add-ons tab |
| Email receipts | Confirm the purchase to the customer automatically | Checkout tab → Email receipts |
| Webhooks | Send order data to a CRM, a task board, or a log | Checkout tab → Webhooks |
Below, we take a closer look at these essential website elements helping make the ordering process well-tuned and easy as well as explain how to set them up and where to find them.
Why a short online order form for website wins

Baymard Institute (opens new window), which has tested checkouts for more than a decade, has come to a conclusion that 17% of online shoppers in the USA usually abandon their order due to a too complicated, too long checkout process. The testing shows that an ideal checkout flow should include 7 – 8 form fields (out of the total 12 – 14 form elements). Keep this in mind when designing an order form for your store.
Remove every redundant field that can cause cart abandonment. Plus, with most customers browsing on mobile devices, requiring excessive text input creates friction that discourages purchases and hurts conversion rates. A digital product needs a name and an email; a bakery needs a pickup date; a delivery business needs an address and a phone number. Everything else can go.
How to customize default and custom fields in SpreadSimple
- Open the Checkout tab and go to Form Fields. You’ll see the default fields.
- Click the gear icon next to a field to enable it, or choose Edit to change it.
- Adjust the label, default value, placeholder, hint and field width. Under validation rules, mark the field as required and write your own error message for blank submissions.
- Need something extra? Click Add custom field and pick one of 11 types: text, email, number, select, multiselect, radio, checkbox, long text, date, time or description (the last one supports markdown).
- Check the field system name. It’s generated from your label, but it must be unique and written in Latin letters without spaces, because the checkout process relies on it.
- Save, then place a test order to see the form the way customers do.
Pro tip: use select or radio fields for anything with fixed answers, such as a delivery slot, and the date and time types for pre-orders. Free text invites typos you’ll have to decode later. And after adding custom fields, copy each field’s replacement tag into your receipt template. The same tags work in the WhatsApp and External Checkout Action add-ons.
Step-by-step guide: Customizing Order form fields (opens new window).
How to set up order notifications
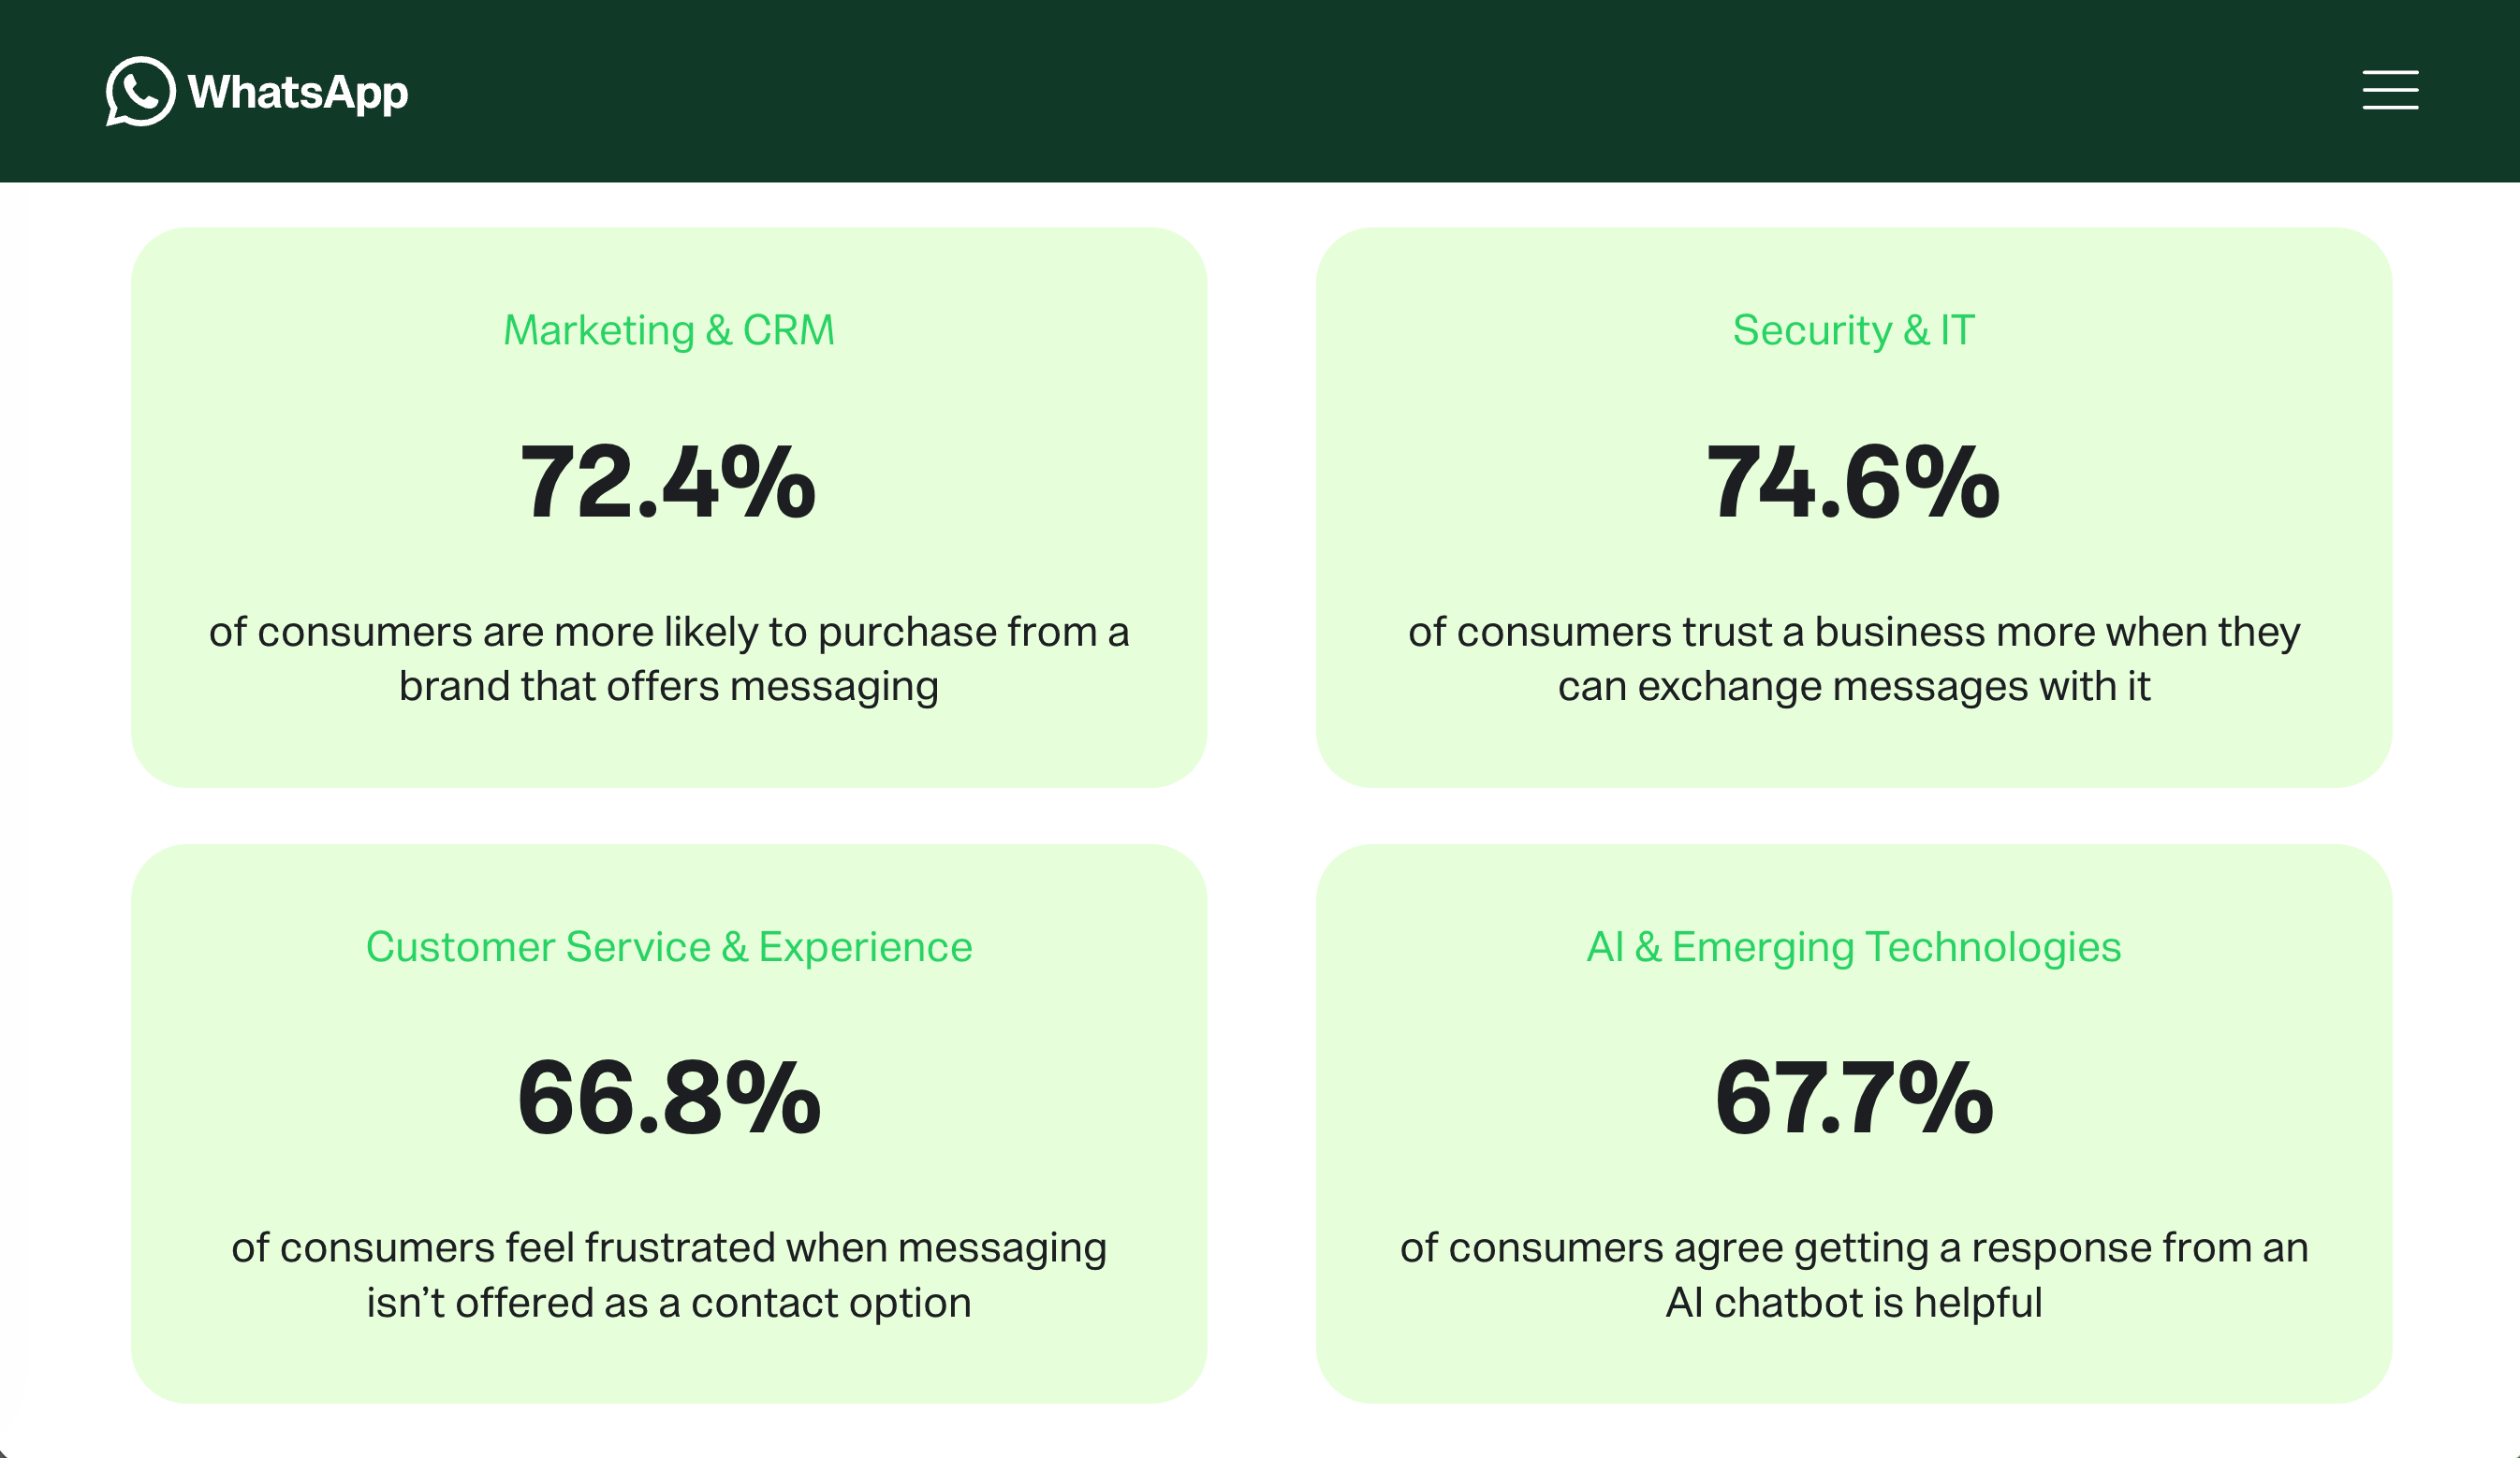
A form submission sitting in a spreadsheet is easy to miss, while you can’t simply ignore a chat message. WhatsApp’s own State of Business Messaging report (opens new window), based on 11,056 consumers across 22 global markets, says 73.3% prefer messaging when they deal with a business and 72.4% are more likely to buy from brands that offer it. The practical point is obvious: a customer who can ask “Is this in stock?” and get a response in minutes is more likely to finish the purchase.
The WhatsApp add-on providing WhatsApp order notification starts that conversation for you automatically. Right after placing an order, the customer opens a chat with your number, and the first message contains the order details. You can write the message template yourself using data variables:
{{client.name}},{{client.phone}},{{client.email}}and{{client.message}}for customer details{{orderId}}for the order number{{cartItemsText}}for the list of items{{totalAmountFormatted}}for the total
A template that works for most small shops: New order {{orderId}} from {{client.name}}. Phone: {{client.phone}}. Items: {{cartItemsText}}. Total: {{totalAmountFormatted}}. Note: {{client.message}}
Setup details: WhatsApp add-on, orders to chat (opens new window).
How to set up email receipts that customers actually open
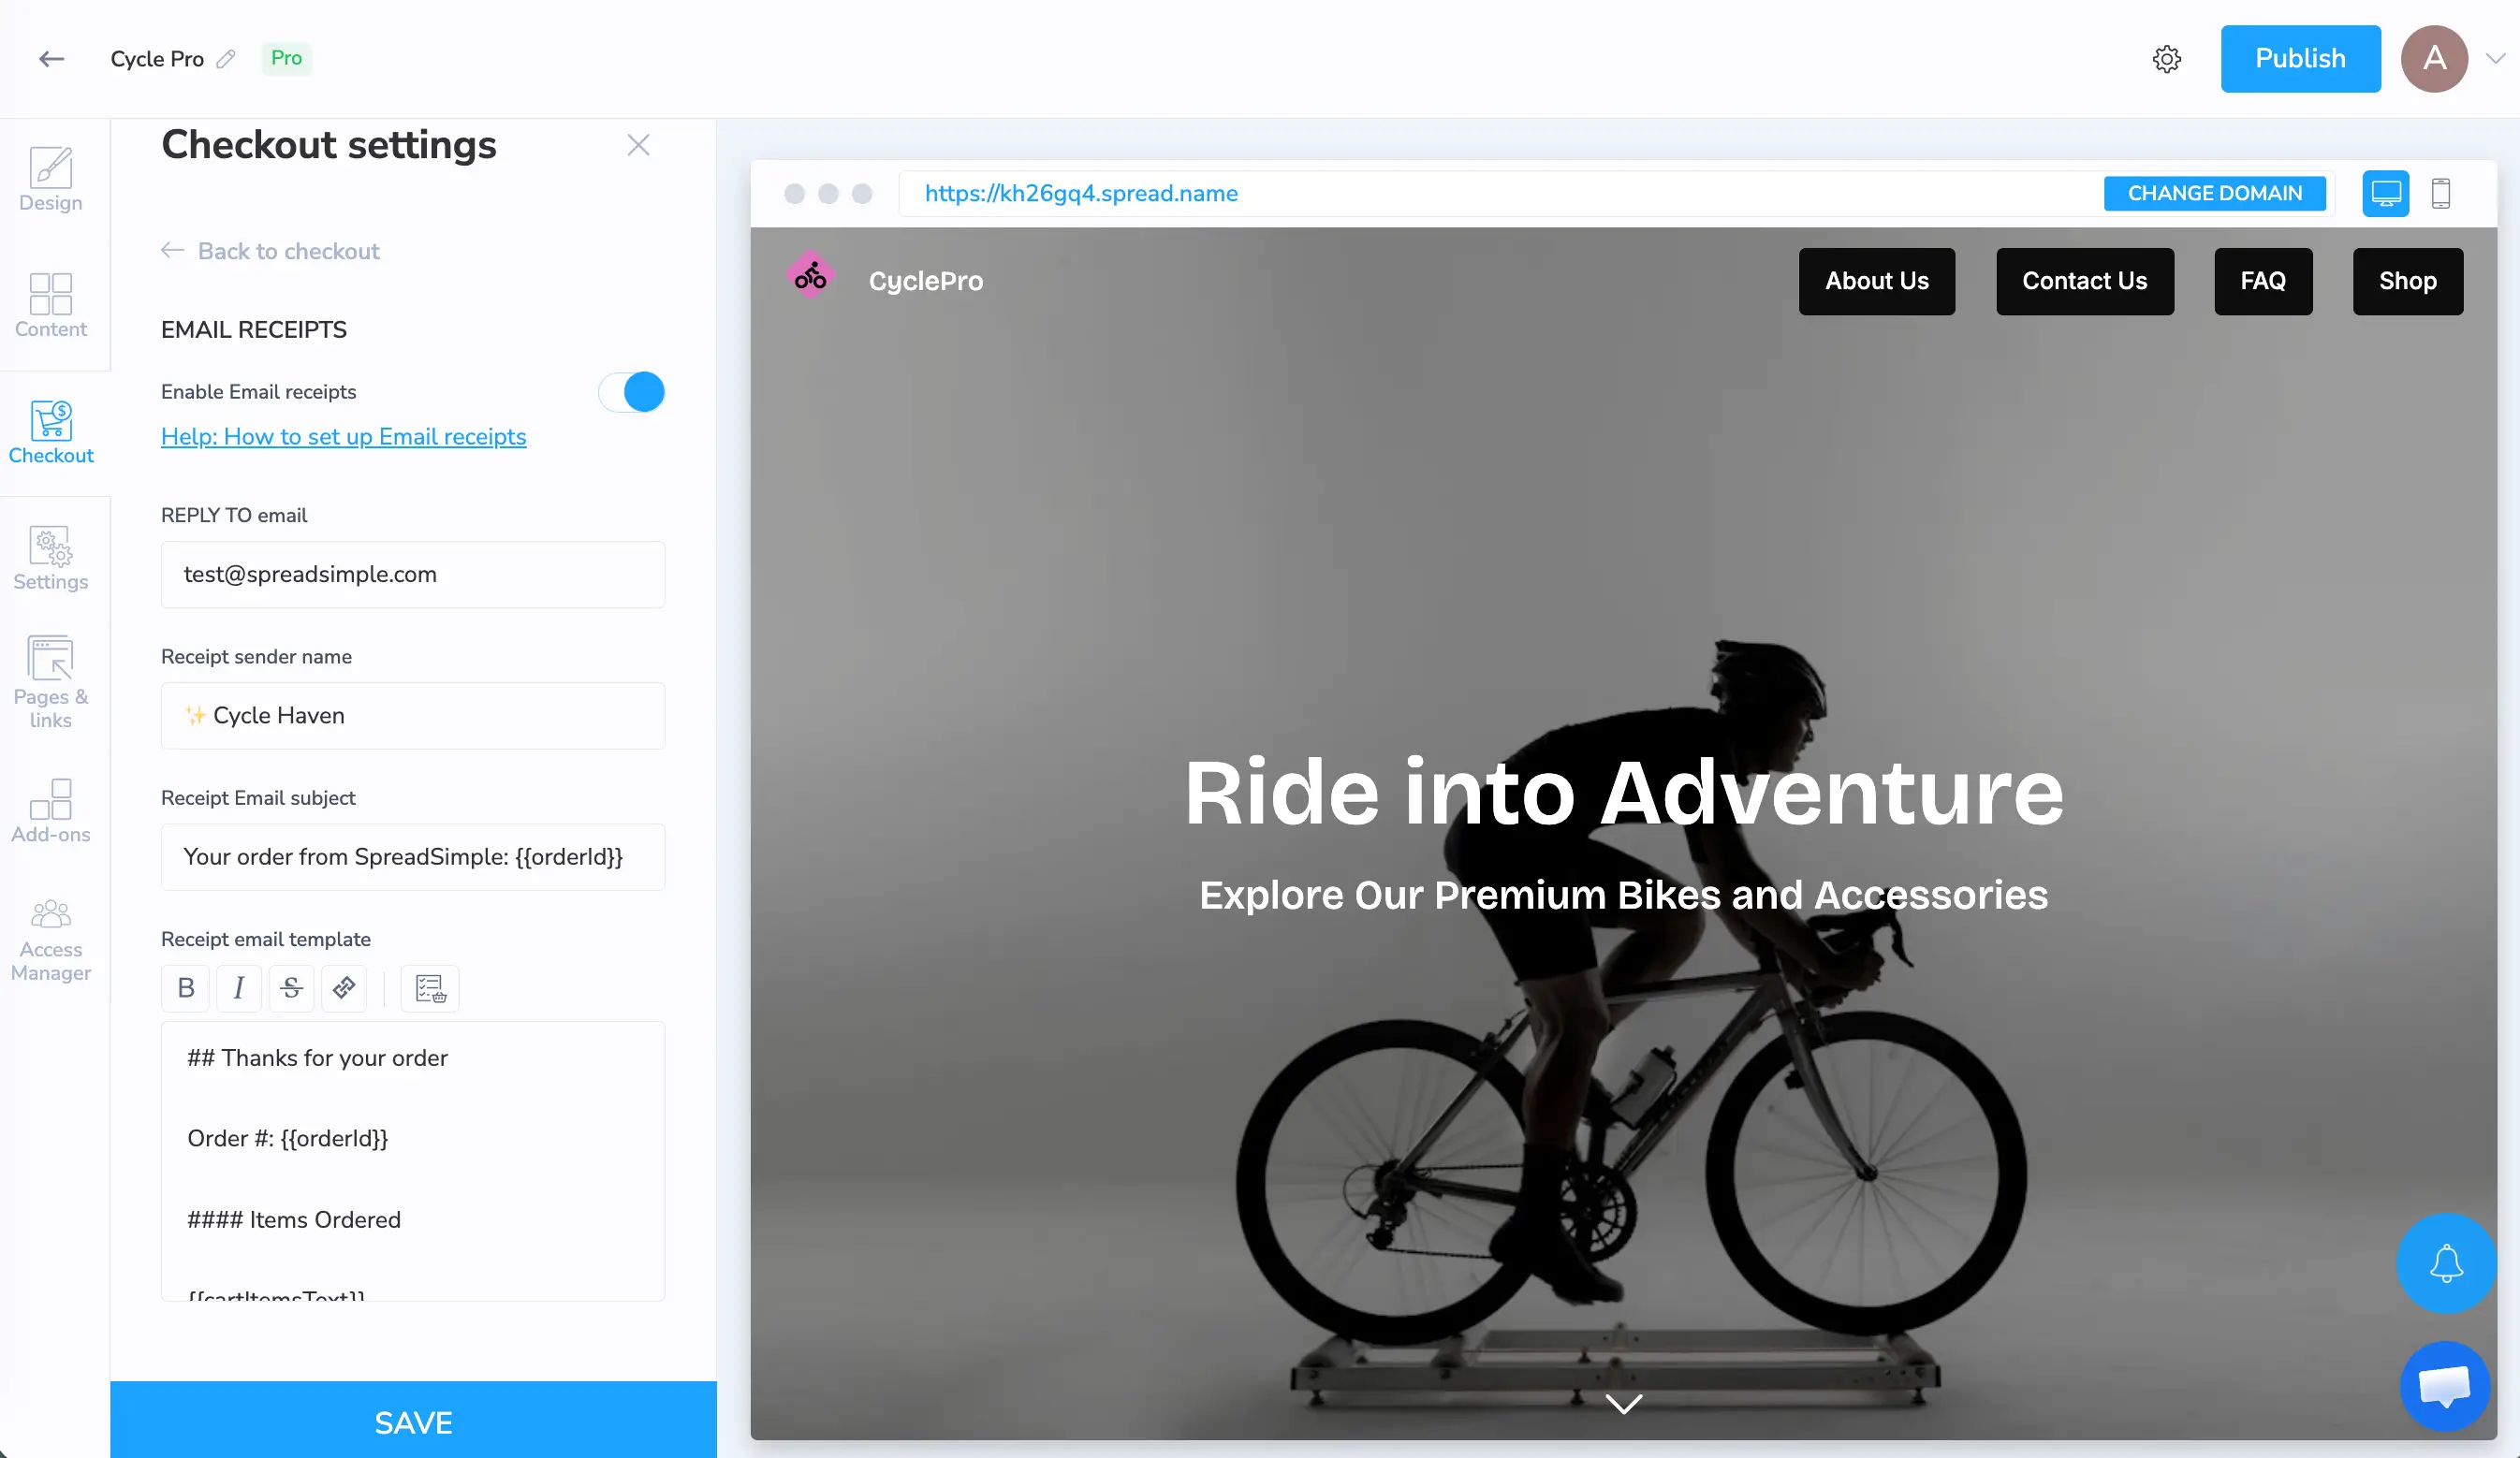
A receipt isn’t a marketing email, but it’s the message your customer is most likely to read, so it should answer four things: what they bought, how much they paid, what happens next, and how to reach you.
Setting up email receipts in SpreadSimple is easy:
- Go to Checkout → Email receipts and switch on Enable Email receipts.
- Set a Reply to address so customer replies land in an inbox you check.
- Enter your store name as the sender name. Customers see it in their inbox.
- Write the subject. Adding
{{orderId}}puts the unique order number in it. - Edit the receipt template. It supports markdown, and replacement tags such as
{{client.name}},{{totalAmountFormatted}}and{{cartItemsText}}pull in the order data.
By default {{cartItemsText}} lists the title, SKU, variations and price. To show more, click the List icon, choose a list or table layout, and pick extra columns from your Google Sheet, for example a size guide or a pickup address. If you select title, price and quantity this way, delete the default {{cartItemsText}} tag so items don’t appear twice. Avoid columns with line breaks or multi-line content; they display badly in email.
Guide: How to set up Email Receipts (opens new window).
Adding multiple payment methods
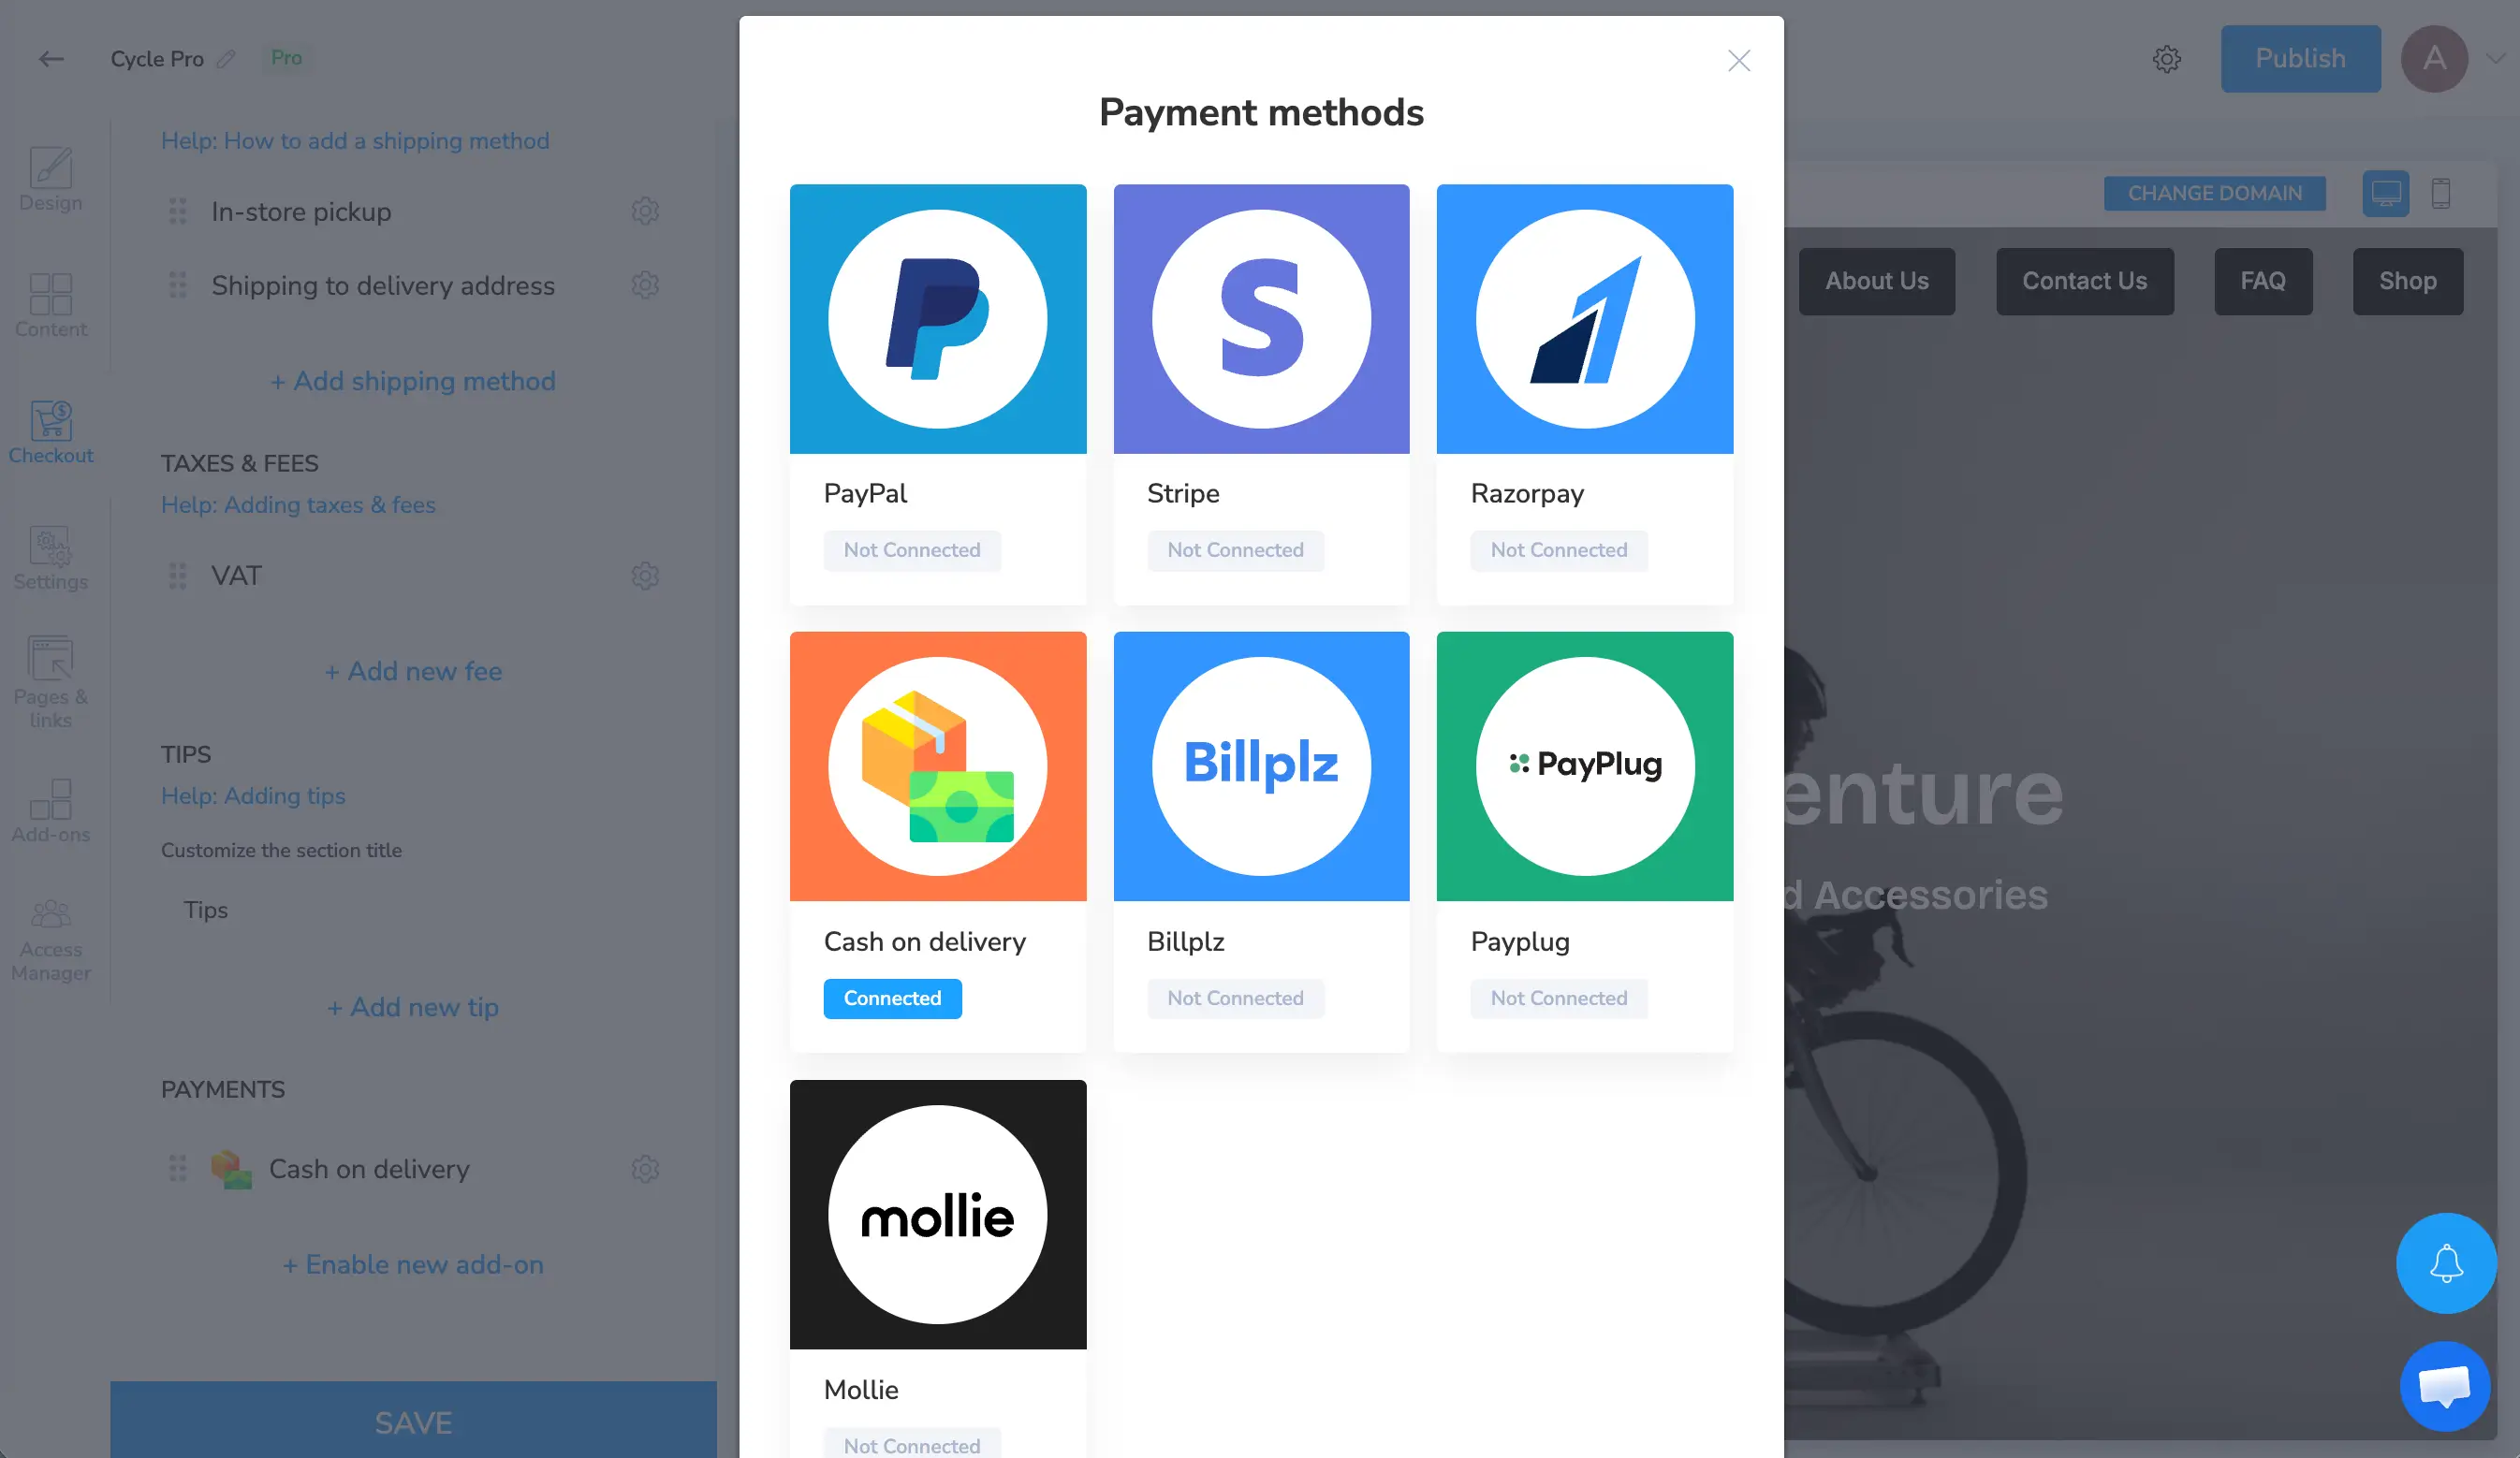
Cart abandonment rate can be really high, if the buyer doesn’t see the trustworthy payment methods they are used to. When building a website with SpreadSimple, you can add multiple payment options to your order form:
- Go to Checkout → Shipping, Fees & Payment menu
- Click on Enable new addon in the Payments menu
- Select one of the payment gateways available.
Currently, apart from the cash on delivery option, SpreadSimple provides the following payment gateways: PayPal, Stripe, Razorpay, Billplz, Payplug, and Mollie. In the dashboard, you can further customize the payment method titles and label, make one of the options default or even disable it.
Order automation with webhooks: send every order to the tools you already use
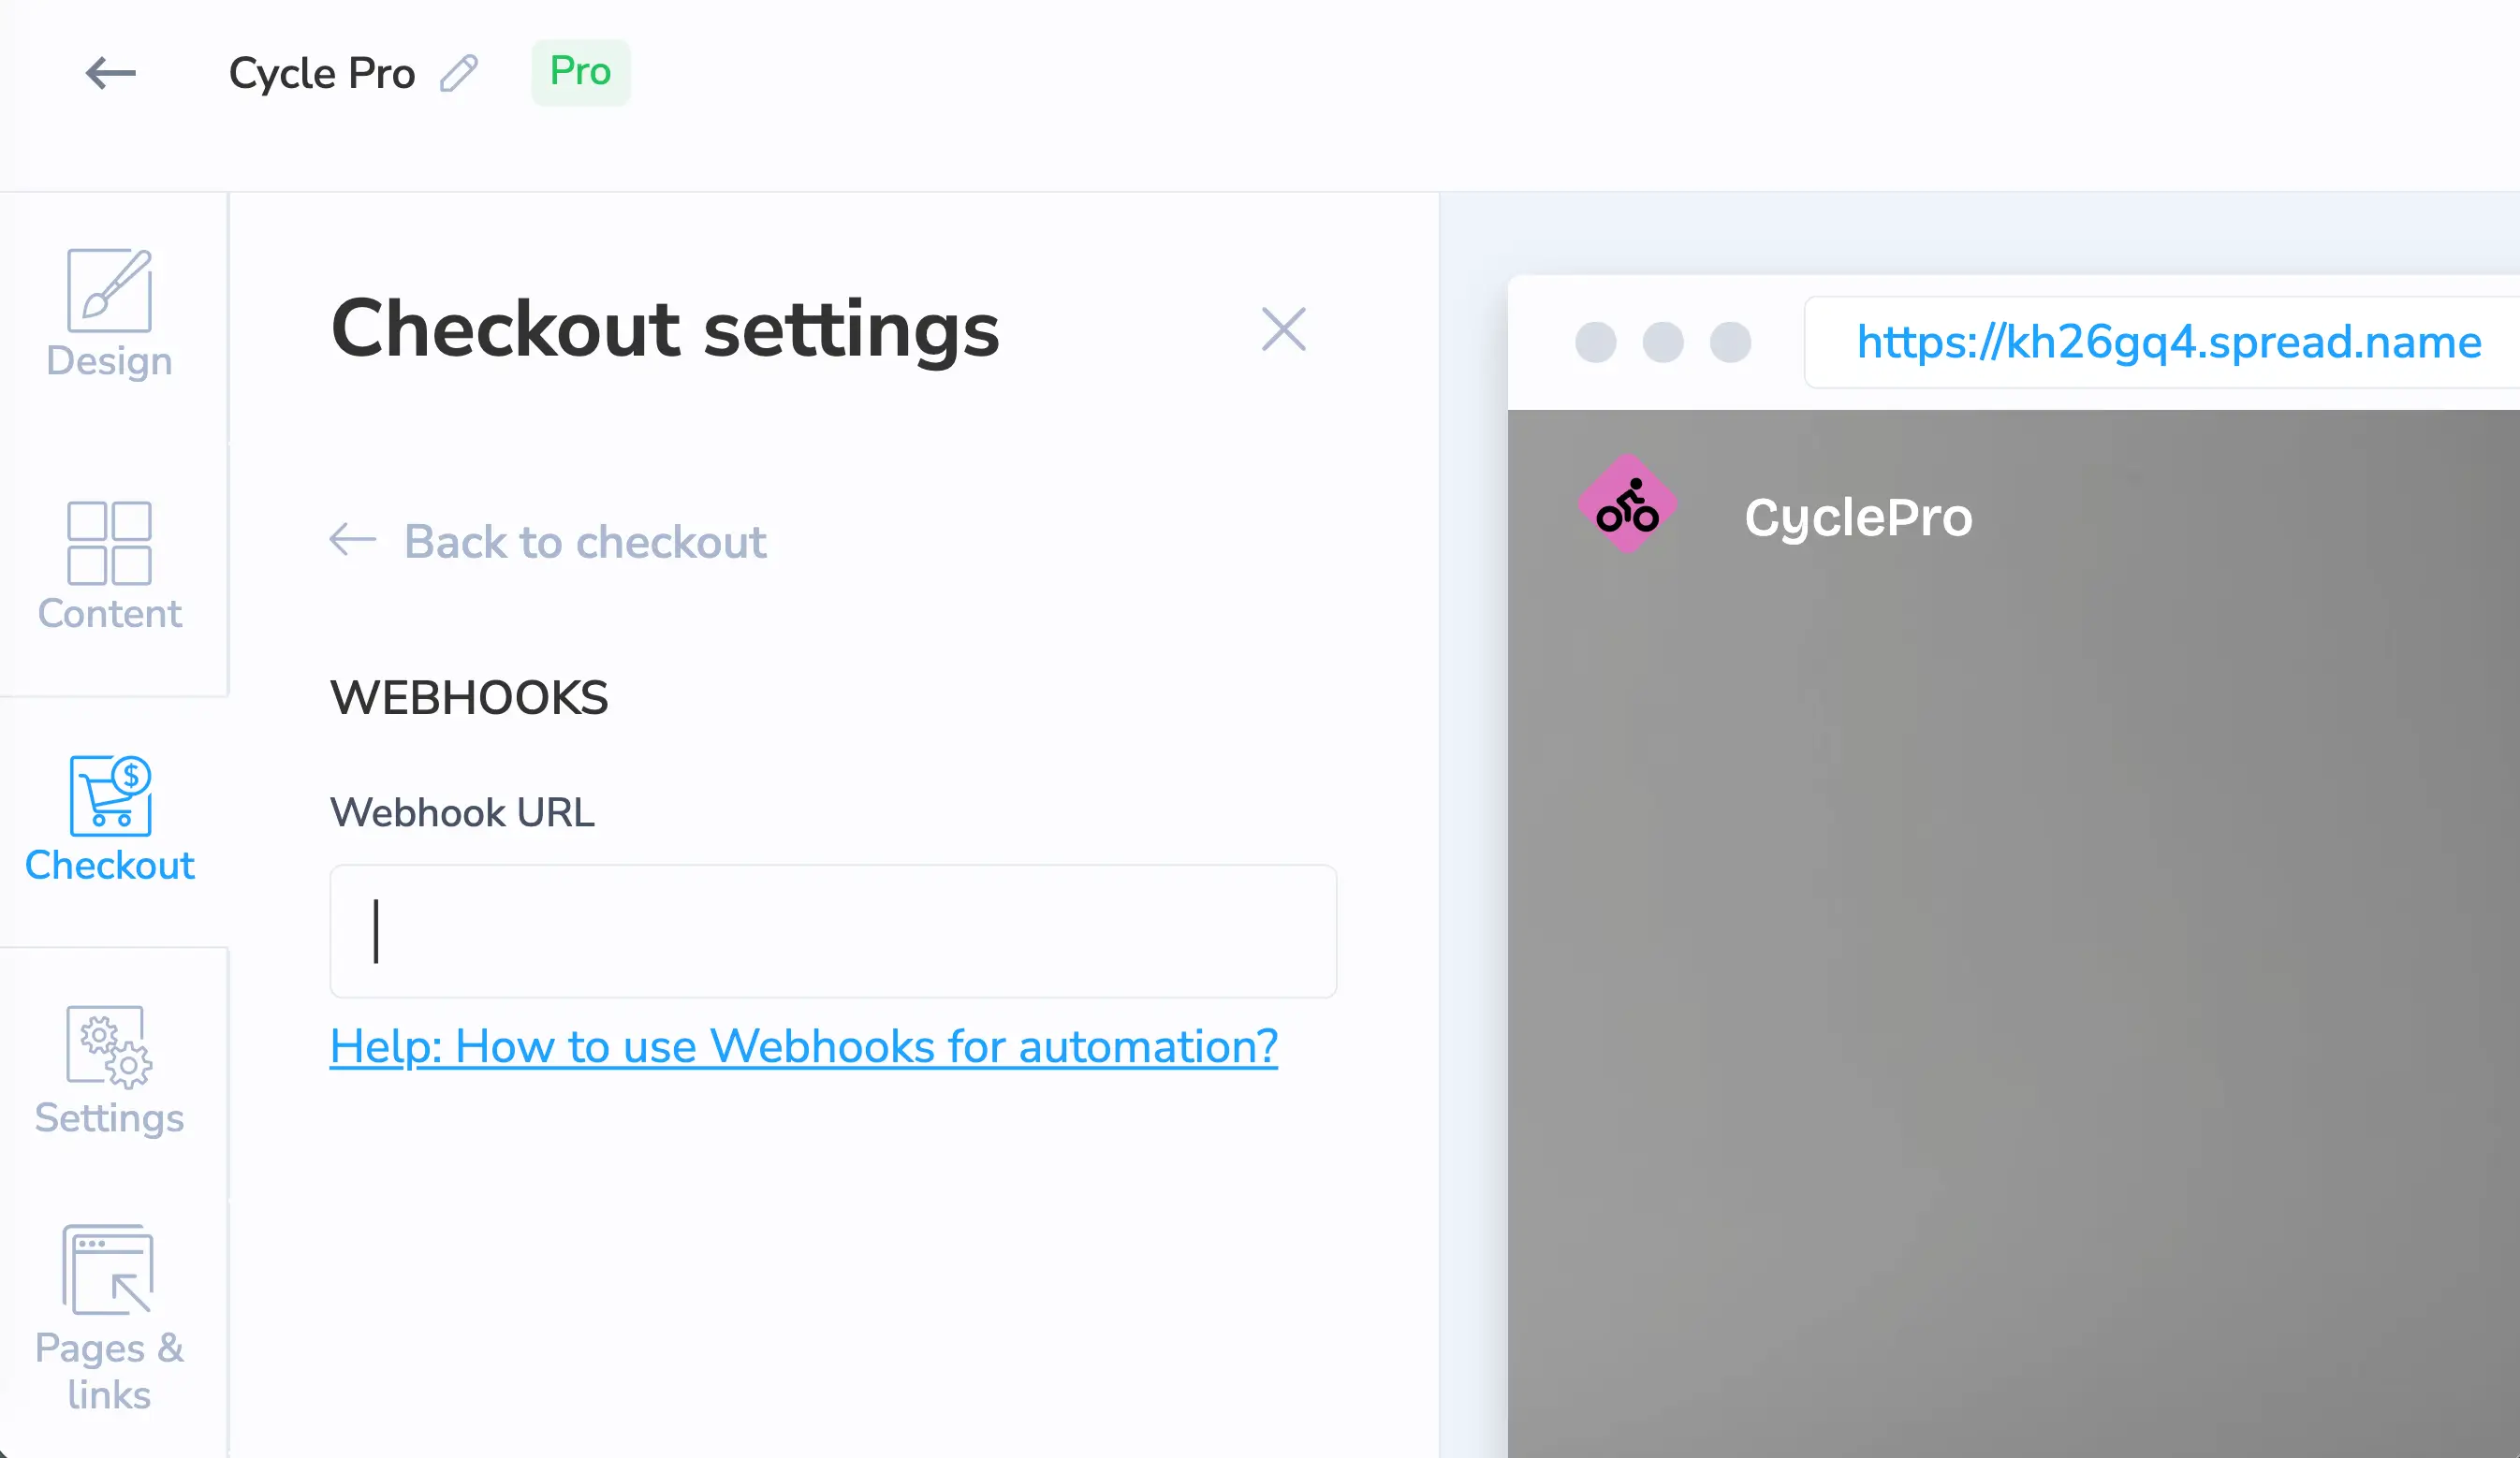
A webhook is a message one app sends to another when a specific event occurs. In SpreadSimple, the Webhooks feature sends a POST request with a JSON body to a URL you provide. You need a middle layer such as Zapier or Make (formerly Integromat) to catch it. Let’s drop the unnecessary technicalities and get to the core of how it works, and why you need this feature: When a customer places an order, a webhook either sends data to another application or triggers a specific action. For example, order details can be sent directly to your CRM, eliminating the need for manual data entry, which helps save your time as well as automate the process.
The setup:
- In your automation service, create a webhook trigger and copy the URL it gives you.
- Paste it into the Webhooks URL field in the Checkout tab and save.
- Place a test order. The service reads the data structure from it, and that’s the signal the connection works.
- Add the actions you want: create a card, send a Slack message, log a row, generate an invoice.
The payload includes customer details, the cart items (with SKU, title, price, quantity and the mapped sheet data), the order ID, form fields, taxes, shipping method, payment method and totals. That’s enough to build a small CRM. Check out the SpreadSimple step-by-step guide to building a free CRM on Trello (opens new window) that shows the pattern end to end.
More information: How to use Webhooks for automation (opens new window).
Common mistakes when taking orders online
- Making every field required. Require only what you can’t fulfill an order without.
- A bad system name on a custom field. Spaces, non-Latin characters or duplicates break the checkout logic.
- Forgetting the new field’s tag in the receipt. The customer’s answer is collected but never shown back to them.
- Skipping the test order for webhooks. Without it, your automation service never sees the data structure.
- Deleting
{{loginUrl}}or{{validationCode}}. Login emails become useless.
FAQs
How many form fields should my online order form have?
Baymard’s testing suggests 12 – 14 form elements, or 7 – 8 actual fields, are enough for a good checkout. Start with what you need to fulfill the order and add fields only when a real problem justifies them.
Do I need Zapier to use webhooks?
You need some service that can receive the request, like Zapier and Make (formerly Integromat).
What’s the difference between the WhatsApp add-on and email receipts?
WhatsApp tells you about the order and opens a chat. The receipt confirms the order to the customer by email. Most stores benefit from both.
Start from an online store template

Every feature above sits inside the same editor and Google Sheet, so you can set them up in one afternoon and adjust them as orders come in. Start with the form and the receipt, place a test order, and add the rest as your needs grow. Ready to try it? Create your website with SpreadSimple (opens new window).